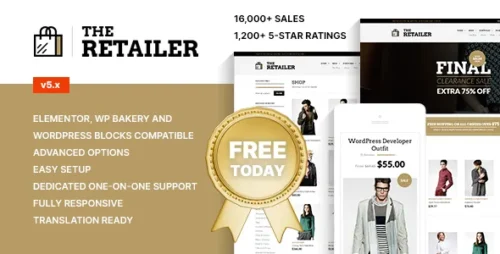
The Retailer 6.9.5 – Premium WooCommerce Store Theme
- Updated on May 5, 2026
- 100% Original Product & Well Documented
- Unlimited Domain Usage


Original price was: ₹4,500.00.₹299.00Current price is: ₹299.00.
Launch a professional online store that converts browsers into buyers. The Retailer WooCommerce theme packs premium design, powerful e-commerce features, and instant setup — so you can start selling in hours, not weeks.
- Secured & Scanned by Virus total & McAfee.
- Lifetime Free Updates
- GPL License (Unlimited Domain Usage)
- Pre Activated, You Don’t Need Any license Key
- 100% Satisfaction Guarantee (Refund Policy)

Lifetime Membership
Access 6700+ Premium WordPress Themes & Plugins, Elementor Templates, Mobile Apps, PHP scripts with Lifetime Updates.
Join Premium MembershipRecently Viewed
The Retailer WooCommerce Theme – Build a Store That Converts
Building an online store that actually sells takes more than pretty product photos. You need a WooCommerce store theme that works as hard as you do — one that looks stunning, loads fast, and guides customers smoothly from first click to checkout. The Retailer delivers all three. This premium WordPress theme gives store owners a powerful foundation to launch fast and scale without limits. Whether you’re selling handmade goods, dropshipping products, or running a multi-vendor marketplace, The Retailer adapts to your business model — not the other way around.
What The Retailer WooCommerce Theme Offers
The Retailer isn’t another generic template. It’s a purpose-built WooCommerce store theme designed by experts who understand what drives online sales. Every layout choice, every feature, every line of code exists for one reason: to help you sell more. The theme integrates seamlessly with WooCommerce, WordPress’s most trusted e-commerce platform, giving you access to thousands of plugins, payment gateways, and shipping solutions. You get professional-grade tools without the professional-grade price tag.
Key Features That Drive Sales
Here’s what separates The Retailer from budget themes that leave you frustrated:
- Conversion-optimized product pages designed to reduce bounce and increase add-to-cart actions
- Lightning-fast load times that keep mobile shoppers engaged (Google loves fast sites, and so do your customers)
- One-click demo import — launch a complete store in under 10 minutes
- Built-in wishlist, quick view, and advanced filtering that removes friction from the buying journey
- Header and footer builders for complete brand control without touching code
- RTL language support for global selling reach
Who Should Buy The Retailer WooCommerce Theme
This theme works for anyone serious about selling online. Small business owners launching their first store get a professional foundation without hiring a developer. Experienced retailers upgrading from basic themes gain advanced features that actually impact their bottom line. Freelance designers building client sites get a reliable, customizable framework that cuts project time in half. If you want an online store that looks like you spent thousands on custom development — without the custom development cost — The Retailer is your answer.
How To Launch Your Store Fast
No coding required. The Retailer comes with pre-built layouts for product grids, landing pages, and checkout flows. Import the demo content with one click, swap in your products, adjust colors to match your brand, and publish. The entire process takes hours, not weeks. Support documentation walks you through every feature, and if you hit a snag, help is one message away. You’ll spend less time wrestling with your theme and more time focused on what actually grows your business — sourcing products, marketing, and serving customers.
Why Choose The Retailer Over Free Themes
Free themes save money upfront. They cost you in the long run. Outdated code, poor mobile performance, limited customization, zero support when things break at 11pm before a product launch — these are the real costs of “free.” The Retailer gives you a commercial license, lifetime updates, and dedicated support. You get a theme that evolves with WooCommerce and WordPress updates, keeping your store secure and functional for years. Premium themes aren’t a luxury — they’re a smart business investment that pays back through higher conversions and fewer headaches.
Ready to stop dreaming about an online store and start running one? Download The Retailer WooCommerce theme today and launch your business in hours. Instant access, lifetime updates, one-time payment.
Ready to Get Started?
Don’t let another day pass with a store that doesn’t reflect your ambition. The Retailer WooCommerce store theme gives you the professional tools, stunning design, and robust functionality you need to compete with established brands — without the agency price. Buy now, download instantly, and start building your online empire today.
Only logged in customers who have purchased this product may leave a review.
RELATED PRODUCTS
DIVI – Original License | One Time Payment – Exclusive Deal

Elementor Pro 4.1.0 + Elementorism Landing Pages WordPress Plugin

907 5.3.6 – Responsive Multi-Purpose WordPress Theme

Element Pack Pro 9.1.0 – Addon For Elementor

Lifetime Mini Membership

Reviews
There are no reviews yet